
(Last Updated on December 4, 2024)
I’m in big trouble.
It’s only the middle of January and we’re already getting cabin fever… what’s a mom to do?!
Thankfully, I’ve got a few tricks up my desperate-homeschool-mom sleeve. One of my all-time favorites is our homemade, indoor mini-sandbox.
Just like water, sand is an awesome material for open-ended, creative play for all ages.
To make an indoor mini-sandbox, all you really need is sand and a container. Put the sand into the container. Done.
Easy-peasy. End of post.
(just kidding)
But, honestly, there really isn’t much more to it than that. Like all good DIY projects, you can make it as easy or as complicated as you want. Here are a few ideas:
How to Make an Indoor Mini-Sandbox
(There may be affiliate links in this post – click here to learn more. As an Amazon Associate I earn from qualifying purchases.)
Make a Mini-Sandbox: Step 1 – The Container
We’ve found a basic rectangular cake carrier to be perfect for our mini-sandbox.
It’s a manageable size – not too big for the kids to handle but not so small that it cramps their play. And, most importantly, it’s durable and has a tight-fitting, clamping lid. This type of lid has saved the day on more than one occasion – I highly recommend a lid that clamps shut!
If you do use a cake carrier, make sure it’s the kind with the deep “bowl” part on the bottom and a flat lid on top. Some carriers have a flat cake platter on the bottom and you lift a deep lid off of the platter…. which would definitely NOT work for this project!

Make a Mini-Sandbox: Step 2 – The Sand
There are a lot of options here!
Outdoor play sand is generally the least expensive (especially if you already have some in the backyard sandbox). If you do get it from your sandbox, just be careful that you don’t bring in any surprises…
(Short Story: We once brought in sticks to make some DIY wooden toys. We put our finished toys in a Tupperware container and, a week later, opened it up to find dozens of newly-hatched tiny bugs. For some homeschool moms this would’ve been a great teachable moment… but, alas, I’m not that homeschool mom).
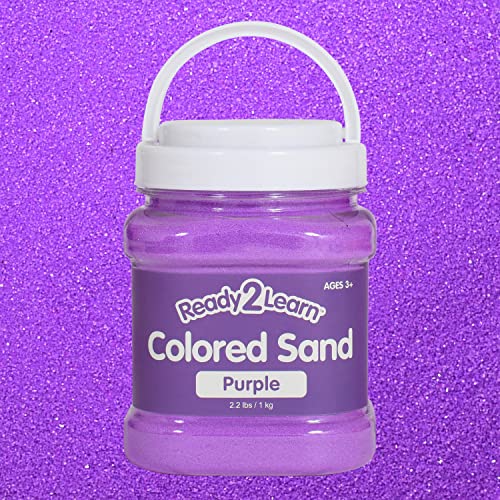
You can also get fine-textured, colored sand. It’s more expensive than plain ol’ play sand but since you don’t need that much it might be doable (we mixed one bag of fancy colored sand with sand from our sandbox to make the colored sand go further). 4-5 lbs of sand total is a good amount for our rectangular cake carrier. Depending on the size of your container you might need to adjust the amount.
Kinetic sand (AKA motion sand, squeezable play sand, moldable sand) is another awesome option. My kids LOVE this stuff (I do, too)! And, best of all, it’s lasted for years!

(Since this is a post about SAND, I’m focusing on those options – but remember you can always experiment with other kinds of playing doughs, rice, pebbles, snow, or even dirt to mix things up and provide different kinds of indoor sensory experiences for your kids.)
Making a Mini-Sandbox: Step 3 – The Extras

This could be ANY little toys or extras you have on hand to spice things up. Here are a few things my kids have enjoyed:
- Plastic scoops from powdered drink mixes
- Dried beans or dried pasta (we’ve used shells and ziti)
- Marbles or glass beads (i.e. “buried treasure”)
- Small rocks, pebbles, shells, and other tiny nature collectibles
- Little, dollar store plastic construction vehicles
- Small, plastic, toy animals or mini-action figures
- Tiny tools (tool sets for mini zen gardens are usually the perfect size)
If you use kinetic sand, you can also use some of your smaller play-doh accessories since the sand is moldable. My kids like using cookie cutters, plastic knives, and dollar store plastic shot glasses (don’t judge me) for making mini-sand castles.
Or, to avoid having to explain to your 5 year old what a shot glass is, you could always just buy the kinetic sand mini-toy kits that are made for this kind of thing (they’re like regular sandbox toys but tiny).

But, before you run to the backyard sandbox with cake carrier in hand, check out the tips below to ensure a smooth DIY mini-sandbox experience.
Making a Mini-Sandbox: Bonus Tips
- You can easily turn this into a more deliberate educational kind of thing by putting in measuring spoons, weighing different amounts of sand on a kitchen scale, making tiny maps of areas you’re studying, or inspecting sand grains under your microscope.
- Don’t dump in all the mini-sandbox toys at once – pace yourself! Set some aside to add next time to keep the interest alive. We toss in one or two new things every few times and my kids have loved and used their mini-sandbox for YEARS now! ** 2024 Update: They still love it! **
- Sand scratches wood! (I learned this one the hard way) Use a tablecloth or old sheet to protect your table surface from little scratchy grains of sand that get caught under the container. I usually set ours up on our indestructible tile floor to avoid this issue.
- Kinetic sand and silicone molds don’t play well together. The kinetic sand sticks to the molds so they don’t release well and the molds are hard to clean afterwards. Spare yourself the hassle and just use smooth plastic molds and tools when working with kinetic sand.
- Don’t fear the mess… embrace it…. and contain it! Work above a floor you can easily sweep up at the end and it’s not too bad. It could be worse… it could be paint… or glitter!! (shudder)
A mini-sandbox isn’t quite the same as a trip to the beach… but it might be enough to get you through the week! Happy playing!
Subscribe today to receive new posts via email!


